Call (678) 365-3138
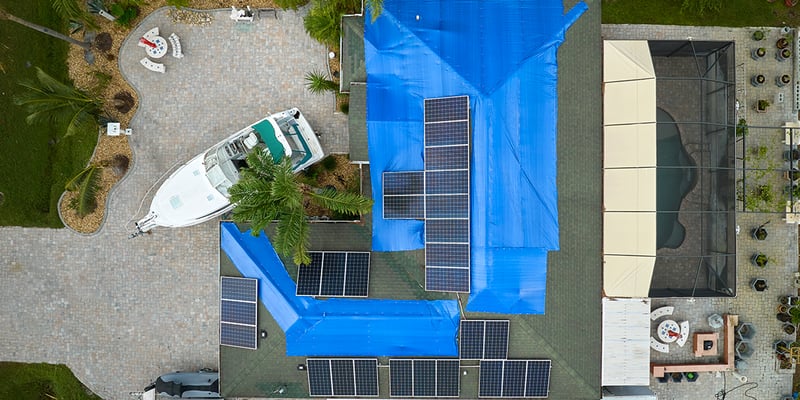
Tarping your roof can help protect your roofing system and structure until a roofing company can perform the necessary repairs.
If a big storm has rolled through your town and caused quite a bit of damage, you might find that it will be a while before a roofer can fit you into their schedule. Installing a roof tarp can ensure that the damage doesn’t get any worse before they are able to address the issue.
How do you install a roof tarp, and how long do they typically last? Should you tarp a roof yourself or hire a professional?
In this article, we’ll look at everything you need to know about tarping your roof to protect your roof and your home.

How to Tarp a Roof
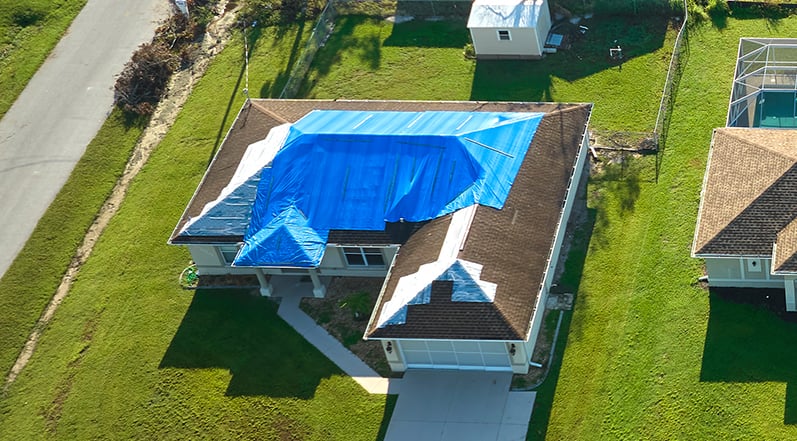
If your roof is damaged after a storm, a tree fell on your roof, or there are delays in making an important roof repair, tarping your roof can help to protect your home from the elements. Of course, tarping a roof is only a temporary solution to a pretty big problem, but it can buy you some time until you are ready to make the necessary repairs.
Before discussing how to tarp your roof, we want to extend a word of warning: it’s really best to hire a professional to install a tarp rather than take on the project yourself. Roofs are dangerous places in general, and the risk of injury dramatically increases if your roof is damaged. If you don’t have any experience dealing with roofing issues and are thinking about tarping your own roof, the safer bet is definitely to call a pro.
That being said, you might be curious to learn how professional roofers will install a temporary tarp for an emergency repair. Let’s take a look at the steps involved.
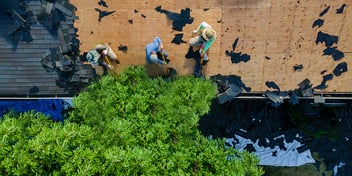
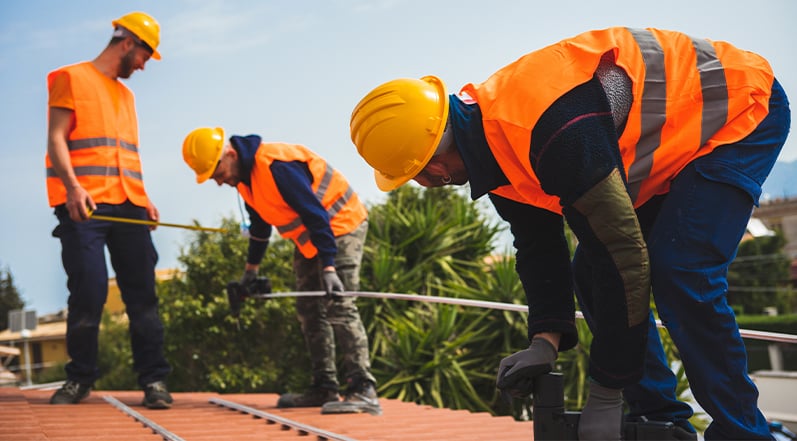
Assess the Damage
Assessing the damage should be the first step once you realize that you are dealing with a roofing emergency. A roofing company will safely access your roof and inspect it for signs of damage. At this time, they’ll also clear away any debris, branches, or leaves that are on the roof.
Before getting up on the roof, another important step is checking the weather forecast. If you are still in the midst of an extreme hail storm or other inclement weather, no one should be up there– not even a pro.
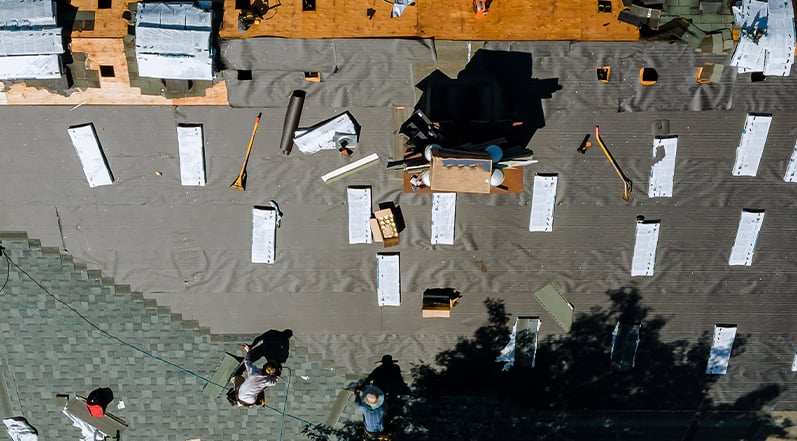
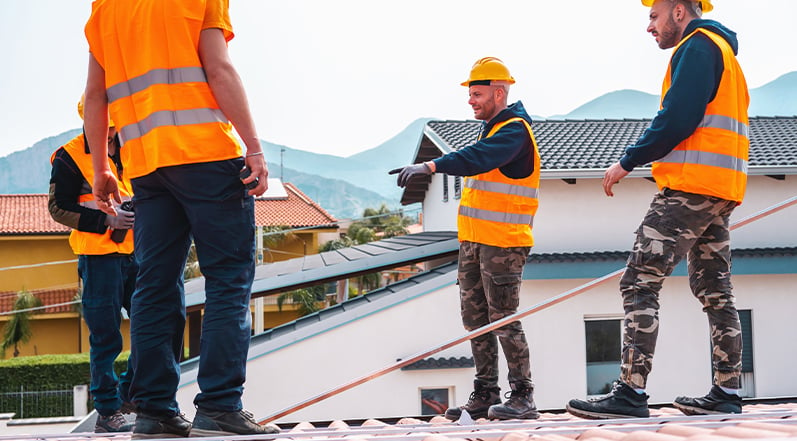
Measure the Area
Now that the roofing company has a clear sense of the roof’s damage, it’s time to determine the size of the tarp that will be required. They will use a measuring tool to determine the size of the area that must be covered.
Choosing the right tarp is another essential step of this process. The tarp should be heavy-duty and have UV inhibitors or otherwise be designed for outdoor use. This will make it more effective at withstanding the elements and help prolong the life of the tarp.
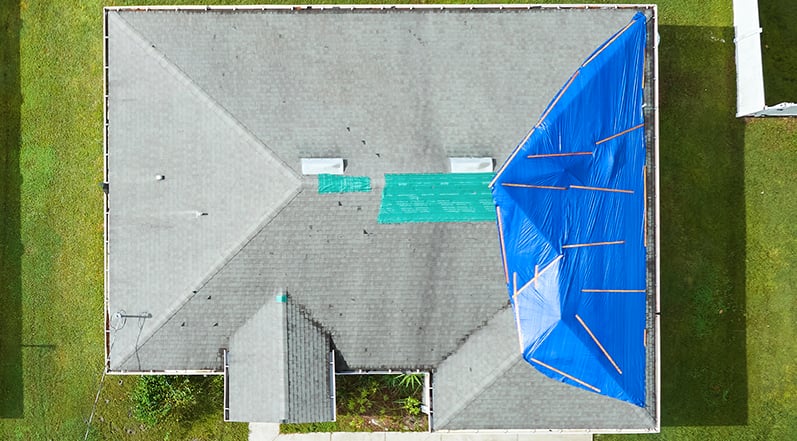
Position and Secure
Finally, it’s time for the tarp to be put in place. It should ideally extend at least three or four feet beyond the damaged area on all sides and be stretched as far as possible. The tarp also needs to extend beyond the ridgeline on sloped roofs in order to ensure that water doesn’t run down the roof under the tarp.
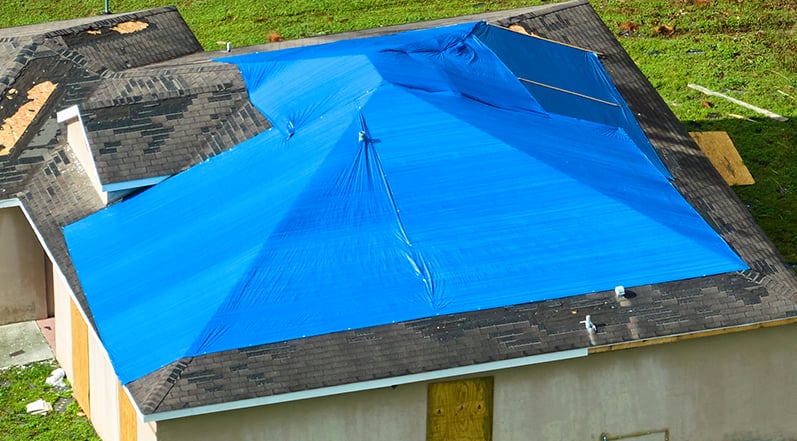
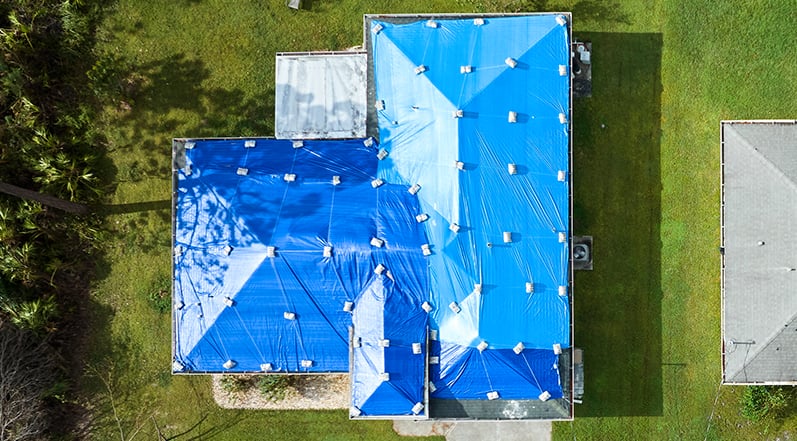
For a longer-lasting placement, tarps can be secured by nailing them to anchor boards that are temporarily screwed into the roof. If the tarp is only very briefly going to be protecting your roof and emergency repairs are expected shortly, a temporary solution is to secure the tarp using sandbags.
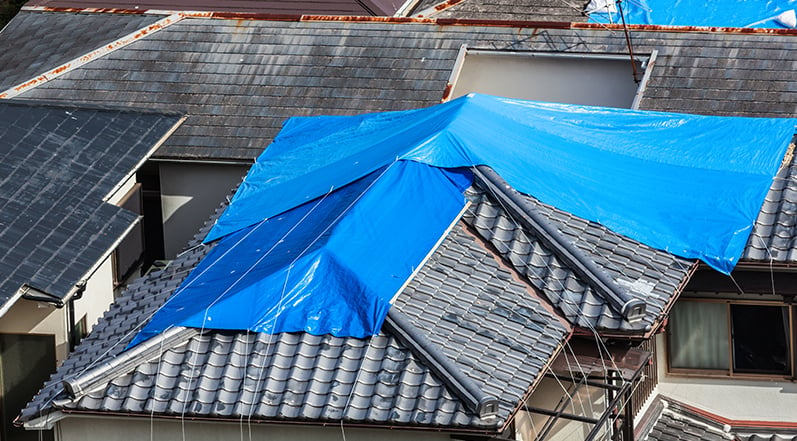
How Long Does a Roof Tarp Last?
Tarps can usually last up to ninety days on a roof. However, there can be significant quality differences between tarps; some are designed to be more resistant to the elements and UV. In some cases, a more robust, outdoor use tarp could last up to two years.
Ultimately, though, you really don’t want to leave a tarp on your roof for longer than three months. Otherwise, you could start running into issues that result in the damage to your roof getting worse. Not only does this mean that the repair will cost more, but it also means that the risk of hazards to occupants is increased.
What Safety Precautions Should You Take When Tarping a Roof?
If you are determined to tarp a roof, you will want to ensure you take all necessary safety precautions. There are a number of very serious risks when tarping a roof, so you will want to consider hiring professionals for the job if at all possible.
The first thing you will want to do is identify any and all hazards. You will want to look for downed overhead power lines if you are tarping a roof after a storm and consider all power lines as if they are live. Even if lines aren’t receiving power from the electrical grid, lines can be energized by generators. If there are downed lines, contact the utility company to determine whether they are energized before proceeding.
You also don’t want to use a metal ladder in close proximity to energized electrical equipment or power lines.
The next step is to assess the stability and condition of the roof before going up there. You must determine the structural integrity and strength of the roof before proceeding.
When you are installing the tarp, make sure the following precautions are taken:
- ● Use proper protective equipment, including goggles, gloves, sturdy boots, and protective clothing.
- ● Never install a tarp when it is raining, windy, or during a storm.
- ● Ensure that you are using the ladder properly and following all safety measures to prevent falls.
- ● Avoid getting on the roof whenever possible if tasks can be performed from a ladder.
- ● Keep an eye out for any tripping hazards on the roof.
- ● Lean the ladder at a safe angle and ensure that at least three feet of ladder extend above the edge of the roof.
- ● Never walk on the tarp, as they are very slippery, particularly when they are wet.
What Materials Are Needed For Roof Tarping?
In order to tarp a roof, you will need the following materials and equipment:
- ● Measuring tool to calculate the area you will need to tarp.
- ● A heavy-duty tarp of the appropriate size.
- ● Ladder and safety equipment.
- ● Tool to remove debris (such as a roofing shovel.)
If you are nailing the tarp down to anchor boards, you will need thin wooden boards (2x4 or thinner) as well as nails and screws. You can use sandbags to secure the tarp in position for a temporary tarp.
How Much Does It Cost to Tarp a Roof?
Hiring a company to tarp a roof for you typically costs between $0.70 and $2.00 per square foot. According to HomeGuide.com, the average cost of tarping a roof ranges from $175 to $700.
Emergency roof tarping is typically more expensive and ranges from $1.00 to $2.80 per square foot.

There are a number of factors that will influence the cost of installing a tarp on your roof, including:
- ● Whether sandbags are used to secure the tarp or anchoring boards and nails.
- ● The cost of labor for roofing contractors in your area.
- ● Whether you are installing a long-term or a short-term tarp (to secure a tarp for up to two years, you will need a heavy-duty 10-mils tarp.)
- ● The size and pitch of the area that needs to be tarped.
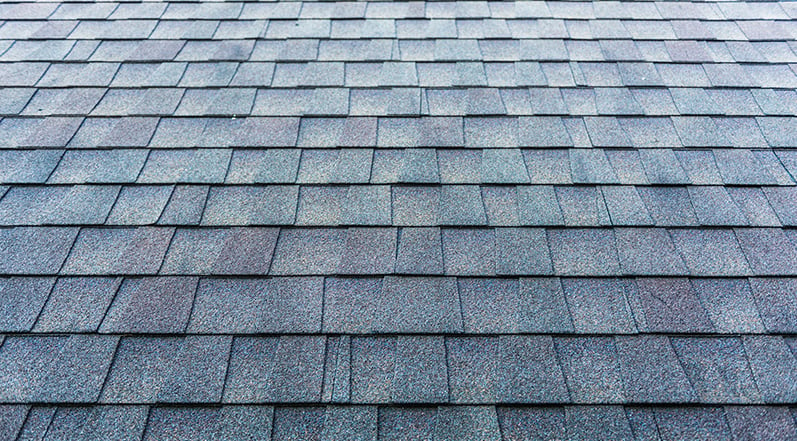
- ● The type of material that you are tarping over– it’s more expensive to tarp over thick materials like tiles than asphalt shingles.
- ● Whether your home is one-story or multi-story– it requires more safety equipment and time for a roofing company to install a roof tarp on multi-story homes or buildings.
- ● The design of the roof– the number of planes, peaks, and valleys can increase the cost.
- ● The severity of the damage– the cost will increase if tree removal is necessary or extensive debris needs to be removed before installing the tarp.
- ● Whether your insurance covers it– it’s possible that you can be reimbursed for tarping costs depending on your deductible and coverage.
The average cost of tarping an area of 2,000 square feet ranges from $1,400 to $4,000. If you only need to tarp a 100-square-foot area, the average cost ranges from $70 to $200.
Standard 5- to 6-mil tarps can range in price from just $4 to $14 for a small, six-foot by eight-foot tarp, while 40 to 60-foot tarps of the same thickness usually cost between $100 and $250. However, heavy-duty tarps typically cost up to three times as much as these standard-thickness tarps.
Of course, a roof tarp isn’t a permanent solution to your problem. There will be additional costs depending on the nature of the damage and the condition of your roof. You might find that you need to have a roof leak repair done, your gutters cleaned or repaired, some shingles replaced, your chimney flashing repaired, or any number of other services depending on the circumstance.
Where Can I Buy a Tarp For My Roof?
You can find roof tarps through online retailers, home improvement shops, or local hardware stores.

It’s worth noting that professional roofers can sometimes purchase tarps at wholesale prices directly from suppliers.
Can You Install a Tarp on a Flat Roof?
It is possible to tarp a flat roof. That being said, more work is required because measures must be taken to ensure that water doesn’t pool under or on top of the tarp. Water needs to be manually removed before tarping, and smaller holes can be sealed using a silicone sealant.
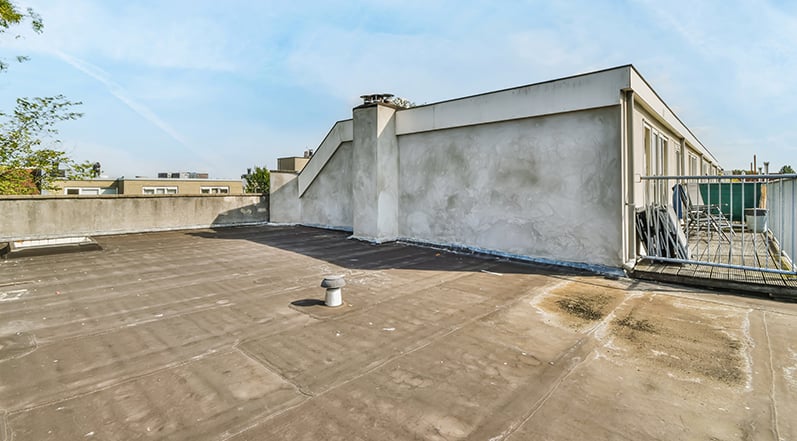
The tarp can then be secured to the fascia board after being wrapped over the eaves.
Can You Use a Tarp For a Sloped Roof?
Yes, you can use a tarp on a sloped roof, but you will want to make sure that the tarp extends over the ridgeline.
Otherwise, your tarp won’t be serving its purpose because water will be able to run under the tarp.
Do I Need to Tarp My Roof?
There are two main reasons why you would want to tarp your roof. Firstly, a roof tarp will help protect your roofing system and home from further damage, including:
- ● Protecting your ceilings, drywall, and the interior of your home.
- ● Protecting the areas on your roofing system around the damage, which can help ensure damage doesn’t get worse until it can be prepared.
- ● Preventing mold and rot.
- ● Protecting your ability to receive reimbursement from your insurer in certain circumstances.
The second reason you might want to tarp your roof is that it might be a requirement of your insurance company. Mitigating damage is typically required by insurance companies in order to have a repair covered. What this means is that it’s your responsibility to make sure that the damage doesn’t get worse and worse until the repair occurs.
Your insurance claim could be denied if you don’t take measures to mitigate damage. At the same time, insurers will sometimes cover the costs of having a roofer install a roof tarp if it is a requirement.
Tarping your roof can provide protection if your roof has been compromised by hail, a windstorm, or another event.
Colony Roofers: You’re Go-To Roofers For Roof Repair
If a storm damaged your roof or you are otherwise left with a compromised roof, Colony Roofers is here to help. Repairing a leaking or damaged roof right away is absolutely essential to the longevity and survival of your roofing system. If leaks are left unchecked, it can mean that mold, rot, and structural damage can occur. When they aren’t addressed promptly, leaks can lead to more extensive and expensive repairs or prematurely replacing your roof.
When you call Colony Roofers with a roof leak caused by a storm, we will be able to give you an accurate assessment of the damage caused and the state of your roof, along with a repair estimate. You can then submit this information to your insurance company if you are making a claim, and we are always happy to act on your behalf to ensure you are fully covered.
Are you dealing with a leaking roof? Did a storm roll through and damage your roofing system? If you’re located in the greater Atlanta area, contact Colony Roofers today.