Call (678) 365-3138
- Home »
- Learningcenter »
- How to repair missing roof shingles
How To Repair Missing Roof Shingles
No one wants a damaged roof. At best, it looks a little neglected, but at it's worst, it can allow water to gain access to your home and cause major damage. If you notice missing or damaged roof shingles, it's possible to repair them yourself if you know what you're doing. Below, we'll go over a few simple steps on how to replace missing asphalt shingles.
Gather Your Materials
The first thing you'll want to do is make sure you have all the necessary materials for your project. To replace missing or damaged roof shingles you will need the following: replacement shingles, a pry bar, a hammer, asphalt roofing cement, and roofing nails. Making sure you are prepared before you get up on the roof will save you time and hassle, ultimately making the project go a lot more smoothly.
Take Proper Safety Precautions
It's also paramount when doing any sort of roofing work that you take the proper safety precautions. Make sure to dress appropriately, wear shoes that can properly grip the roof, and do not get on a roof that is wet or icy. It's best to avoid working first thing in the morning if there is dew. A wet roof is a slippery roof, and a slippery roof can easily lead to an injury.
Remove Old Shingles
Once you have all the necessary materials and you've made sure to take the proper safety precautions, you can begin removing the old shingles. If you have missing shingles, you will still need to remove the shingle in the row above and below to make sure you install it properly. You can do this by sliding the pry bar underneath the shingle and gently lifting upward. Once you've popped the nails a bit, remove the pry bar, press the shingle down and pull out the nails. Then push the pry bar under the shingle directly above the damaged one and remove the second row of nails the same way. After yanking all eight nails, pull out the damaged shingle. All shingles are affixed with eight nails, so make sure you get them all. The nails at the top will be located underneath the shingle directly above it.
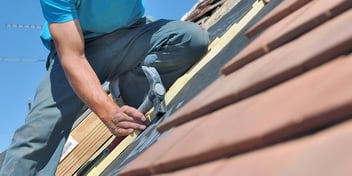
Apply Cement and Nail Down the New Shingles
Once you have removed the shingle, it's time to apply some asphalt roofing cement to the back of your new shingle. This will create a bond between shingle and roof that will help keep it in place, and prevent it from moving. Make sure when you are reinstalling your shingles, you are working from the bottom upwards. Once your shingle is coated with the roofing cement, you can then slide the new shingle into place on the roof and use a hammer to nail it into place. Use four nails at the top and four nails at the bottom of each shingle. Make sure your shingle is firmly attached before moving on to the next shingle, working upwards until all of the shingles you removed have been replaced.
Clean Up Your Work Area
When you've finished replacing all of your shingles, take a few minutes to clean up. Make sure you pick up any nails or shingle pieces that may be scattered around the area and dispose of them properly. You should also check the shingles around your repair site to make sure none were damaged during the process, and if there are any cracks or loose shingles, take a few minutes to repair those as well. You can easily fix both of these with a bit of roofing cement.
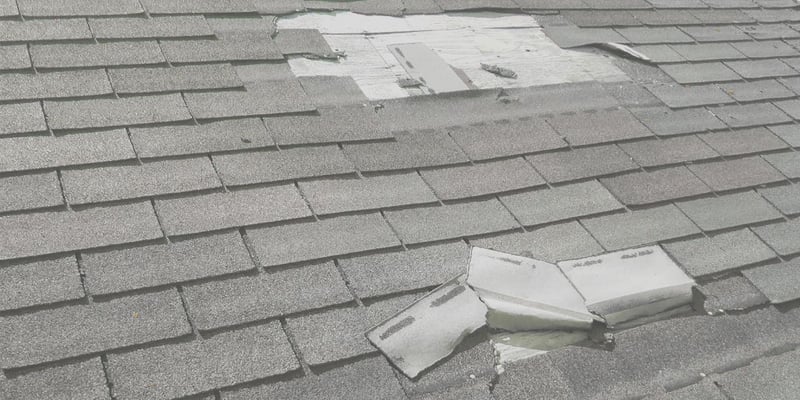
Why Repairing Shingles Is Important
Shingles are your roof's (and subsequently your home's) main defense against the elements. When you have missing or damaged shingles, your roof is vulnerable to all sorts of damage, and as we frequently discuss here in our Learning Center, roof damage that goes unrepaired can and will lead to more severe and sometimes catastrophic damage the longer it's ignored. Replacing shingles on your roof can be a bit of a job, but if you take the time to do it right and make sure everything is properly secured, then you should have no problems.
In Need Of Roof Repairs?
While repairing missing or damaged shingles is definitely something you can do yourself, you may not want to. It can be dangerous to get up on your roof, and whenever roof damage is present it's always in your best interest to call in a qualified roofing professional to perform a thorough inspection and make sure there is not damage that's unseen. At Colony Roofers, we offer free 30 minute inspections, and we're always happy to come out and take a look, explain what's going on with your roof, and answer any questions you may have. Call us today!